【版本】
当前版本号v20220418
| 版本 | 修改说明 |
|---|---|
| v20220418 | 增加mapper.xml目录的提示 |
| v20220331 | 增加脚本命名提示 |
| v20220318 | 初始化 |
任务4.1 智能锁项目(iot-lock)实现数据库管理功能
【任务目的】
- 掌握数据库的建立和使用 Flyway 管理数据库脚本
【任务环境】
- IDEA
- Maven 3.6
- MariaDB 10.4
- JDK 8
【任务说明】
本任务承接任务3.3,并且结合任务2.1设计的表,实现从使用 Flyway 命令来管理数据库脚本。
Flyway是一个管理数据库脚本的框架,可以与
Maven集成,快速地构建数据库。
【任务效果】
- 执行
migrate。
【任务步骤】
创建数据库用户和授权
- 创建 MariaDB 用户,用于访问
iotlock库。请使用数据库客户端 HeidiSQL 执行以下SQL语句。
-- 创建iotlock@localhost 用户,密码为 R5K5r9727@t
CREATE user 'iotlock'@'localhost' IDENTIFIED BY 'R5K5r9727@t';
-- 创建iotlock@% 用户,密码为 R5K5r9727@t
CREATE user 'iotlock'@'%' IDENTIFIED BY 'R5K5r9727@t';
-- 授权iotlock的所有表,以及所有权限给这2个用户
GRANT ALL ON iotlock.* TO 'iotlock'@'localhost';
GRANT ALL ON iotlock.* TO 'iotlock'@'%';
- 使用 IDEA 打开
iot-lock项目。
建立SQL脚本
在
src\main\resources目录下创建一个名为db\migration的目录。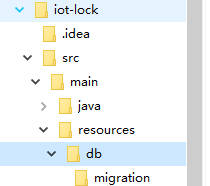
在
migration目录下,分别创建3个SQL文件,用于构建本项目的数据库。
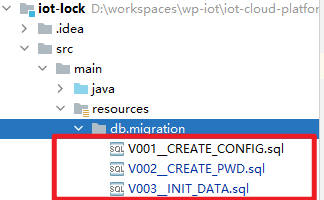
注意:这里的脚本命名V00X后面接2个下划线符号!
- (1)
V001__CREATE_CONFIG.sql文件用于创建一个智能锁的配置表config。
CREATE TABLE `config` (
    `id` BIGINT(20) UNSIGNED NOT NULL AUTO_INCREMENT COMMENT '锁ID',
	`k` VARCHAR(128) NOT NULL COMMENT '键',
	`v` VARCHAR(128) NOT NULL COMMENT '值',
	`upt_time` TIMESTAMP COMMENT '修改时间',
	`remark` VARCHAR(256) COMMENT '备注',
	PRIMARY KEY (`id`) USING BTREE
)
COMMENT='配置'
COLLATE='utf8mb4_general_ci'
ENGINE=InnoDB
ROW_FORMAT=DYNAMIC
;
(2)
V002__CREATE_PWD.sql文件用于创建密码表pwd,内容请参考任务2.1。(3)
V003__INIT_DATA.sql文件用于往config表和pwd表插入初始化的数据。
INSERT INTO `config` (`k`, `v`, `upt_time`, `remark`) VALUES ('iotId', 'Lock01', now(), '设备物联网平台ID');
INSERT INTO `config` (`k`, `v`, `upt_time`, `remark`) VALUES ('devSecret', '', now(), '设备密钥');
INSERT INTO `config` (`k`, `v`, `upt_time`, `remark`) VALUES ('token', '', now(), '用户令牌');
INSERT INTO `config` (`k`, `v`, `upt_time`, `remark`) VALUES ('userId', '', now(), '用户ID');
INSERT INTO `config` (`k`, `v`, `upt_time`, `remark`) VALUES ('userSecret', '', now(), '用户密钥');
INSERT INTO `config` (`k`, `v`, `upt_time`, `remark`) VALUES ('devName', '客厅智能锁', now(), '设备名称');
INSERT INTO `config` (`k`, `v`, `upt_time`, `remark`) VALUES ('devType', 'lock', now(), '设备类型');
INSERT INTO `config` (`k`, `v`, `upt_time`, `remark`) VALUES ('description', '我的客厅智能锁', now(), '设备描述');
INSERT INTO `config` (`k`, `v`, `upt_time`, `remark`) VALUES ('devTopicPost', '', now(), '设备主动推送主题');
INSERT INTO `config` (`k`, `v`, `upt_time`, `remark`) VALUES ('devTopicPostReply', '', now(), '设备主动推送回复主题');
INSERT INTO `config` (`k`, `v`, `upt_time`, `remark`) VALUES ('devTopicReceive', '', now(), '设备被动接收主题');
INSERT INTO `config` (`k`, `v`, `upt_time`, `remark`) VALUES ('devTopicReceiveReply', '', now(), '设备被动接收回复主题');

INSERT into `pwd`(`pwd`,`typ`,`upt_time`,`status`) values('123456','fixed',now(),'enabled');
pom.xml
pom.xml加入数据库连接驱动包依赖。
<!-- MySQL 驱动 Start-->
    <dependency>
      <groupId>mysql</groupId>
      <artifactId>mysql-connector-java</artifactId>
      <version>8.0.31</version>
    </dependency>
<!-- MySQL 驱动 End-->
注:此段配置插入
pom.xml的<dependencies></dependencies>标签内。
pom.xml加入Flyway的插件配置。
<plugin>
<groupId>org.flywaydb</groupId>
<artifactId>flyway-maven-plugin</artifactId>
<version>7.8.2</version>
<configuration>
<url>jdbc:mysql://localhost:3306/iotlock?useUnicode=true&characterEncoding=UTF-8&useSSL=false</url>
<user>iotlock</user>
<password>R5K5r9727@t</password>
</configuration>
</plugin>
注:此段配置插入
pom.xml的<plugins></plugins>标签内。
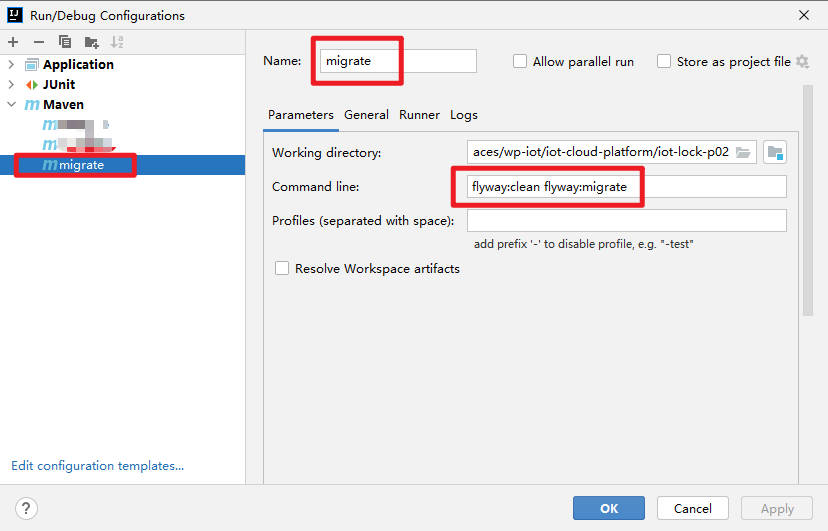
运行 migrate
- IDEA新建一个
Maven的运行配置,名称为migrate。Command Line 设置为flyway:clean flyway:migrate。
此命令会执行2个操作,其中 flyway:clean 会清除 iotlock 库里的所有表格。flyway:migrate 会按顺序执行 src\main\resources\db\migration 下的所有SQL脚本。
- 运行
migrate,观察IDEA 运行窗口输出内容和观察数据库是否有执行成功。

任务4.2 智能锁项目(iot-lock)实现读取配置表
【任务目的】
- 掌握 MyBatis 框架的开发与应用
- 掌握 SQL 语句的编写
【任务环境】
- IDEA
- Maven 3.6
- MariaDB 10.4
- JDK 8
【任务说明】
- 本任务承接任务4.1。
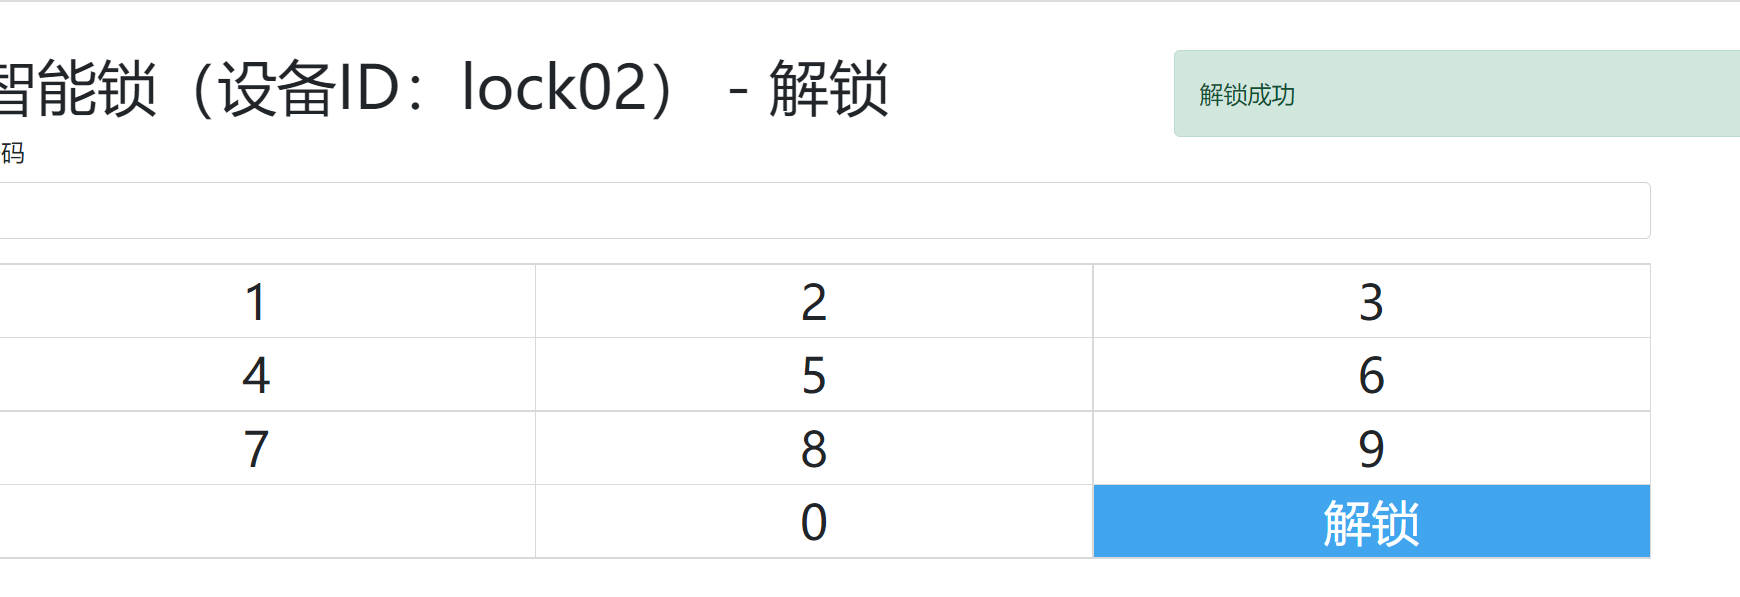
iot-lock项目的设备ID是采用硬编码的方式。修改iot-lock项目代码,实现从数据库中读取设备ID,并展示在解锁页面上。
【任务效果】
- 可以看到解锁页面的设备ID是从数据库查询到的值。

【任务步骤】
ConfigEntity
- 新增
ConfigEntity类,用于装载config表数据。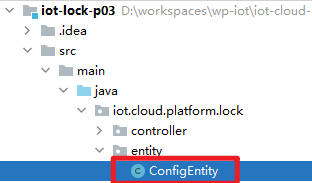
package iot.cloud.platform.lock.entity;

import java.util.Date;

public class ConfigEntity {
  private String k;
  private String v;
  private Date uptTime;

  public String getK() {
    return k;
  }

  public void setK(String k) {
    this.k = k;
  }

  public String getV() {
    return v;
  }

  public void setV(String v) {
    this.v = v;
  }

  public Date getUptTime() {
    return uptTime;
  }

  public void setUptTime(Date uptTime) {
    this.uptTime = uptTime;
  }
}
ConfigMapper
- 新增
ConfigMapper接口,用于访问数据库config表。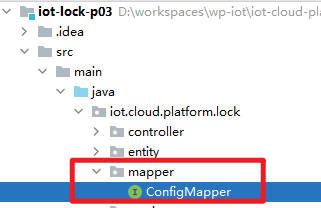
ConfigMapper代码
package iot.cloud.platform.lock.mapper;

import iot.cloud.platform.lock.entity.ConfigEntity;

public interface ConfigMapper {
  ConfigEntity getConfigByK(String k);
}
ConfigMapper.xml
- 在
iot.cloud.platform.lock.mapper包下,创建一个文件ConfigMapper.xml。代码如下,这里的SQL语句请自行完成。实现根据k值,查询config表所有的列的内容,并限制只查询1行数据。
<?xml version="1.0" encoding="UTF-8" ?>
<!DOCTYPE mapper PUBLIC "-//mybatis.org//DTD Mapper 3.0//EN" "http://mybatis.org/dtd/mybatis-3-mapper.dtd">
<mapper namespace="iot.cloud.platform.lock.mapper.ConfigMapper">
    <select id="getConfigByK" resultType="iot.cloud.platform.lock.entity.ConfigEntity">
        请自行完成这里的SQL语句
    </select>
</mapper>
application.yml
- 在
application.yml内加入以下数据库连接、用户名和密码,还有 MyBatis 的配置。
spring:
  datasource:
    url: jdbc:mysql://localhost:3306/iotlock?useUnicode=true&characterEncoding=UTF-8&useSSL=false&allowMultiQueries=true
    username: iotlock
    password: R5K5r9727@t
ConfigService和ConfigServiceImpl
- 新增
ConfigService接口和ConfigServiceImpl类,用于配置相关的业务处理。
ConfigService代码
package iot.cloud.platform.lock.service;

public interface ConfigService {

  String getV(String k);

  String getDeviceId();
}
ConfigServiceImpl代码
package iot.cloud.platform.lock.service.impl;

import iot.cloud.platform.lock.entity.ConfigEntity;
import iot.cloud.platform.lock.mapper.ConfigMapper;
import iot.cloud.platform.lock.service.ConfigService;
import org.springframework.beans.factory.annotation.Autowired;
import org.springframework.stereotype.Service;

@Service
public class ConfigServiceImpl implements ConfigService {

  @Autowired
  private ConfigMapper configMapper;

  @Override
  public String getV(String k) {
    ConfigEntity config=configMapper.getConfigByK(k);
    if(config!=null){
      return config.getV();
    }else{
      return null;
    }
  }

  @Override
  public String getDeviceId() {
    return getV("iotId");
  }
}
pom.xml
- 修改
pom.xml,在<dependencies></dependencies>标签内新增以下MyBatis依赖包。
<!-- mybatis start -->
    <dependency>
      <groupId>org.mybatis.spring.boot</groupId>
      <artifactId>mybatis-spring-boot-starter</artifactId>
      <version>2.1.4</version>
    </dependency>
    <dependency>
      <groupId>com.alibaba</groupId>
      <artifactId>druid</artifactId>
      <version>1.2.6</version>
    </dependency>
    <!-- mybatis end -->
IoTLockApplication
- 修改
IoTLockApplication为以下代码,主要增加了@MapperScan("iot.cloud.platform.lock.mapper")配置,要求 spring 扫描 MyBatis 的配置目录。
package iot.cloud.platform.lock;

import org.mybatis.spring.annotation.MapperScan;
import org.springframework.boot.SpringApplication;
import org.springframework.boot.autoconfigure.SpringBootApplication;

@SpringBootApplication
@MapperScan("iot.cloud.platform.lock.mapper")
public class IoTLockApplication {
	public static void main(String[] args) {
		SpringApplication.run(IoTLockApplication.class, args);
	}
}
IndexController
修改
IndexController类,实现从数据库查询设备ID。请各位同学自行实现。在数据库内修改
config表,找到k值为iotId的那一行,更改v值为Lock+你的学号后三位。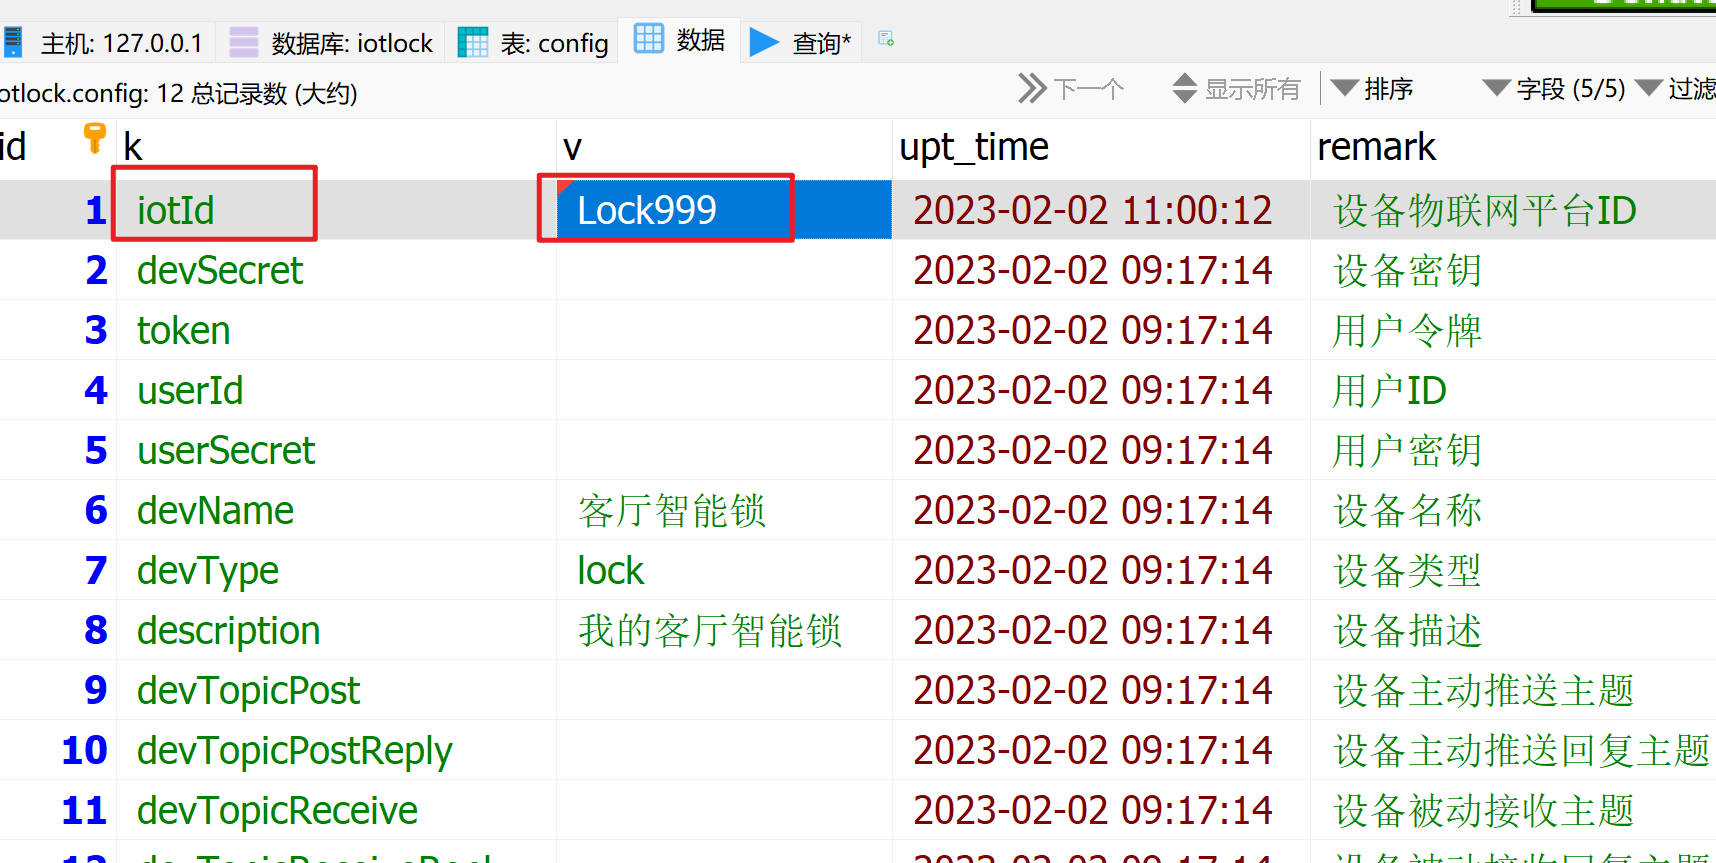
运行 IoTLockApplication
- 新增运行配置
compile,并运行。该配置主要用于Maven执行编译工作。
Command line:compile
- 运行
IoTLockApplication,查看解锁页面的设备ID是否改变。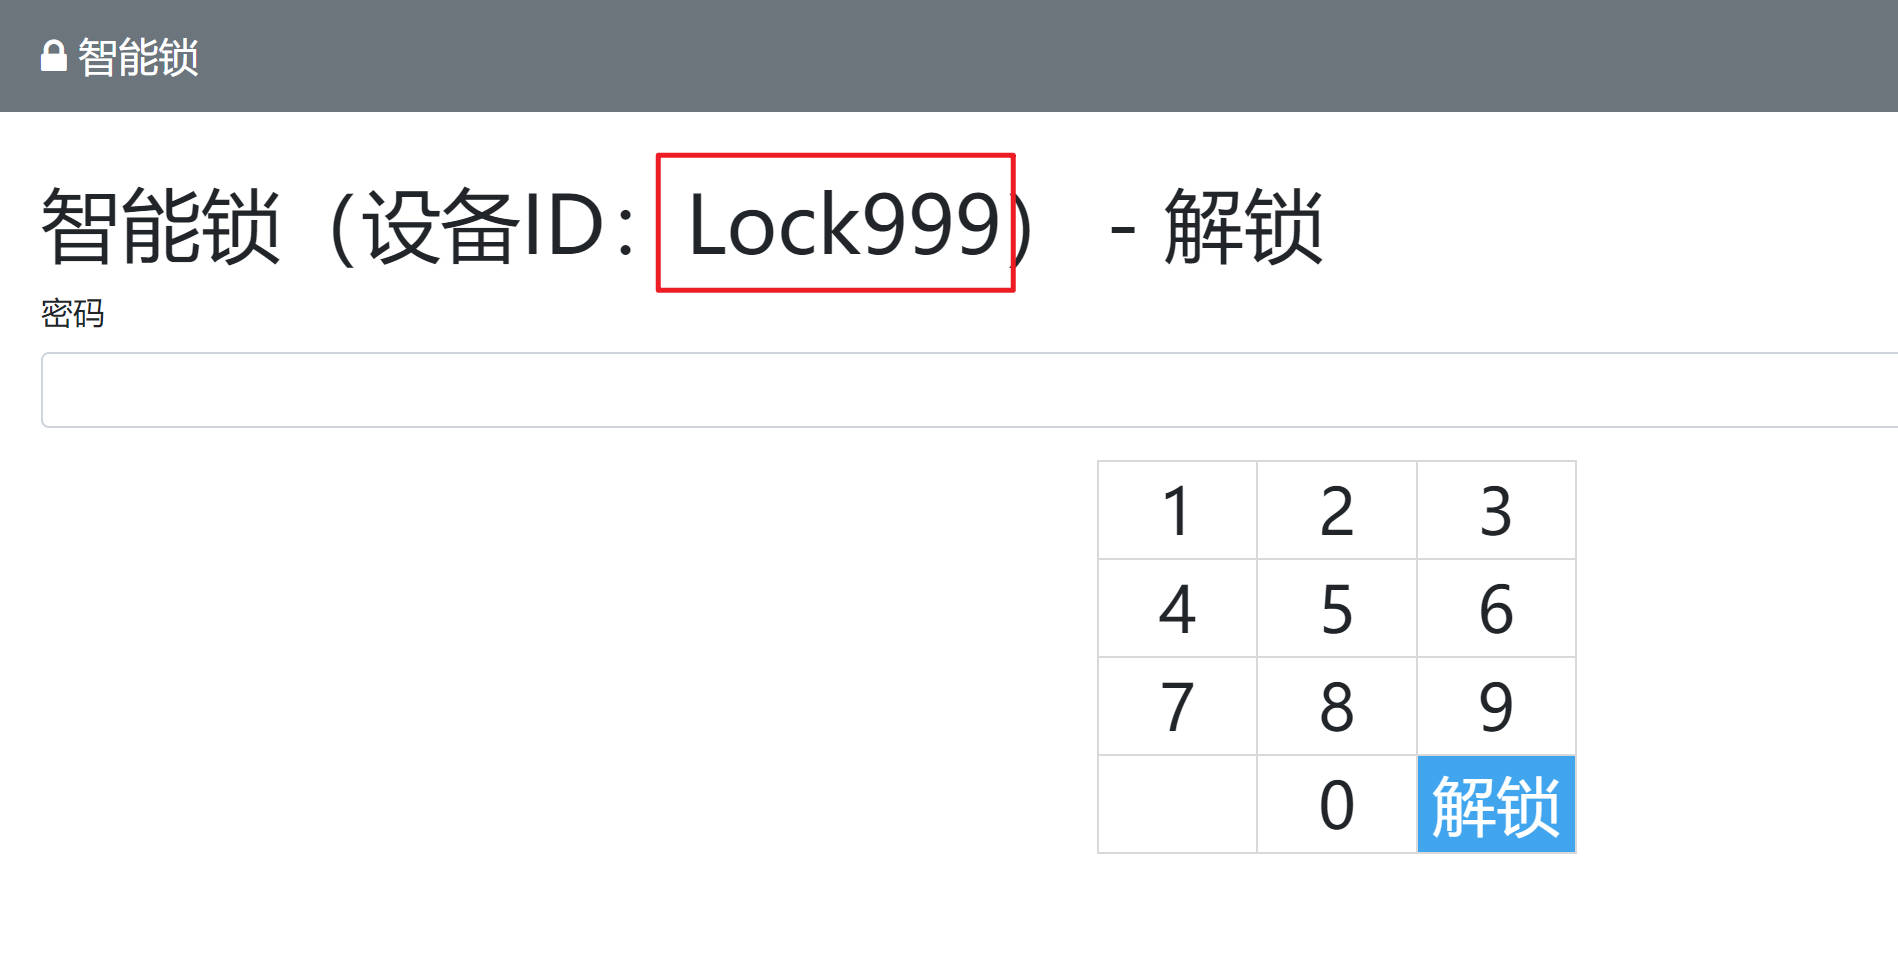
任务4.3 智能锁项目(iot-lock)实现使用数据库密码解锁
【任务目的】
- 掌握 SSM 框架的开发与应用
- 掌握 SQL 语句的编写
【任务环境】
- IDEA
- Maven 3.6
- MariaDB 10.4
- JDK 8
【任务说明】
- 本任务承接任务4.2。
【任务要求】
iot-lock项目的智能锁解锁密码是采用硬编码的方式。修改iot-lock项目代码,实现从数据库中读取密码,并展示在解锁页面上。- 数据库内密码分为2种类型,一种是固定密码,另一种是临时密码,只要有任何一个有效密码匹配,就解锁成功。
- 固定密码不会过期。
- 临时密码有有效期,在有效期内仅能解锁一次,解锁以后失效。
【任务效果】
【任务步骤】
PwdEntity
- 编写一个
PwdEntity类,这是一个POJO,用于装载pwd表的数据。请自行完善代码。
package iot.cloud.platform.lock.entity;

import java.util.Date;

public class PwdEntity {
  private Long id;
  //其他属性、getter、setter请自行完成

}
PwdMapper
- 编写一个
PwdMapper接口,用于查询密码。
package iot.cloud.platform.lock.mapper;

import iot.cloud.platform.lock.entity.PwdEntity;

import java.util.List;

/**
 * 密码验证
 */
public interface PwdMapper {

  /**
   * 根据密码查询所有数据库匹配密码
   * @param pwd
   * @return
   */
  List<PwdEntity> getPwd(String pwd);
}
PwdMapper.xml
- 编写
PwdMapper.xml配置文件,与PwdMapper类放在同一目录下,使用 MyBatis 查询数据库。请自行完善以下 SQL 语句。
<?xml version="1.0" encoding="UTF-8" ?>
<!DOCTYPE mapper PUBLIC "-//mybatis.org//DTD Mapper 3.0//EN" "http://mybatis.org/dtd/mybatis-3-mapper.dtd">
<mapper namespace="iot.cloud.platform.lock.mapper.PwdMapper">
    <select id="getPwd" resultType="iot.cloud.platform.lock.entity.PwdEntity">
        <!-- 请自行完成SQL的编写 -->
    </select>
</mapper>
PwdService
- 编写
PwdService接口,定义实现密码相关的业务处理接口。
package iot.cloud.platform.lock.service;

import iot.cloud.platform.lock.vo.ResMsg;

import java.util.Date;

public interface PwdService {

  /**
   * 检查密码是否正确
   * @param pwd
   * @return
   */
  boolean verifyPwd(String pwd);

}
PwdServiceImpl
- 编写
PwdServiceImpl,用于实现PwdService接口,实现密码相关的业务处理。
package iot.cloud.platform.lock.service.impl;

import iot.cloud.platform.lock.entity.PwdEntity;
import iot.cloud.platform.lock.mapper.PwdMapper;
import iot.cloud.platform.lock.service.PwdService;
import org.springframework.beans.factory.annotation.Autowired;
import org.springframework.stereotype.Service;

import java.util.List;

@Service
public class PwdServiceImpl implements PwdService {

  private final static String PWD_TYPE_FIXED="fixed";
  private final static String PWD_TYPE_TEMP="temp";

  @Autowired
  private PwdMapper pwdMapper;

  @Override
  public boolean verifyPwd(String pwd) {
    boolean result=false;
    List<PwdEntity> peList=pwdMapper.getPwd(pwd);
    for(PwdEntity pe:peList) {
      if (pe != null) {
        if () {//自行完善代码,如果是固定密码,而且状态是enable。
          result = true;
        } else if () {//自行完善代码,如果是临时密码,而且未过期,状态是enable
          result = true;
        }
      }
      if(result){
        break;
      }
    }
    return result;
  }
}
UnlockController
- 修改
UnlockController类的unlock方法,调用PwdServiceImpl.verifyPwd验证密码。如果密码正确前台返回消息“解锁成功”,错误则返回“密码错误”。
IoTLockApplication
- 启动
IoTLockApplication,访问http://localhost:8097/
测试
测试输入固定密码,正常前台返回消息“解锁成功”。
在数据库加入一个临时密码,再在前台输入临时密码测试解锁功能是否正常。